Description
Workshop Description
This workshop will be held November 19, 1-5 p.m. at the Plymouth Congregational Church in Lawrence, KS
Plymouth Congregational Church
925 Vermont St.
Lawrence, KS 66044
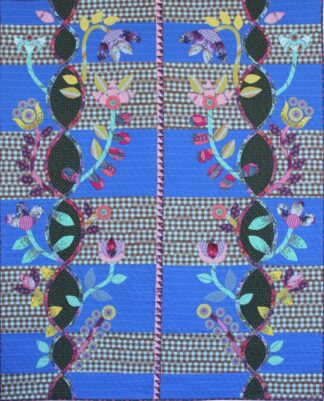
I have used piping in bindings, borders, framed quilt blocks, scalloped borders, clothing, pillows and cross stitch projects. This class will cover making piped binding, applying piping to the quilt to get a nice 90-degree square corner, and then finishing with bias binding in a contrasting color.
SUPPLIES
- Sewing machine with a zig zag throat plateCording foot, open toe applique foot, pintuck foot, orzipper foot (I have never had much luck with this one.I use a #31 5 groove pintuck foot on my Bernina 1230, and a #23 cording foot or #30 3
groove pintuck foot on my Bernina 770 - Cording – only need one type, approximately 70 inchesWrights Polyester Filler Cord 1/16 inch (Joanns, in the drapery department)Wrights Polyester Filler cord #2 (Joanns)Pearl Cotton #3Cording from Textile Systems – 2.2mm and a smaller size (I will bring spools of these to
class for you to try) - Bias strips for piping70 inches of 1-to-1.25-inch width joined with a 45-degree angle and seams pressed
opened - Bias strips for binding70 inches of bias binding cut 2.25 inches wide and joined with a 45-degree angle seam that has been pressed open. Fold binding in half and press. Binding and piped binding should contrast.
- Thread to match piped binding and binding
- Seam ripper
- Scissors
- **Groovin Piping Trimming Tool by Susan K. Cleveland (I love this tool) or ruler for trimming (3 x 12, 3 x 18, or similar size)